
Professional work
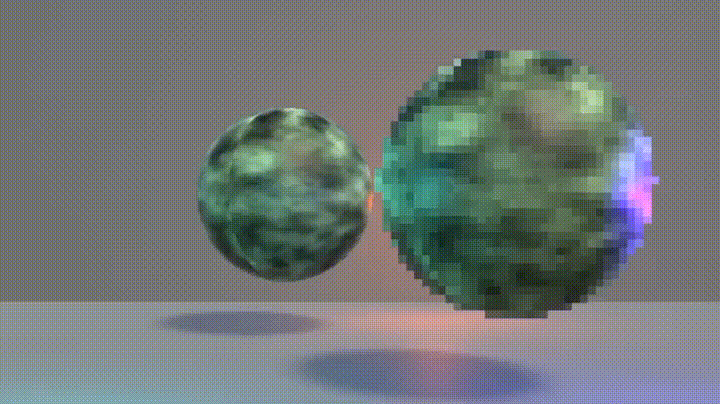
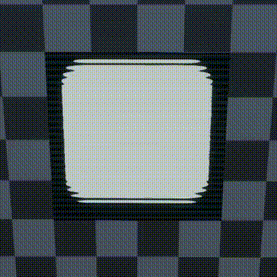
This stencil based post-processing effect applies a pixelated look to specific objects in a scene without requiring special materials or lowering the game's overall resolution.
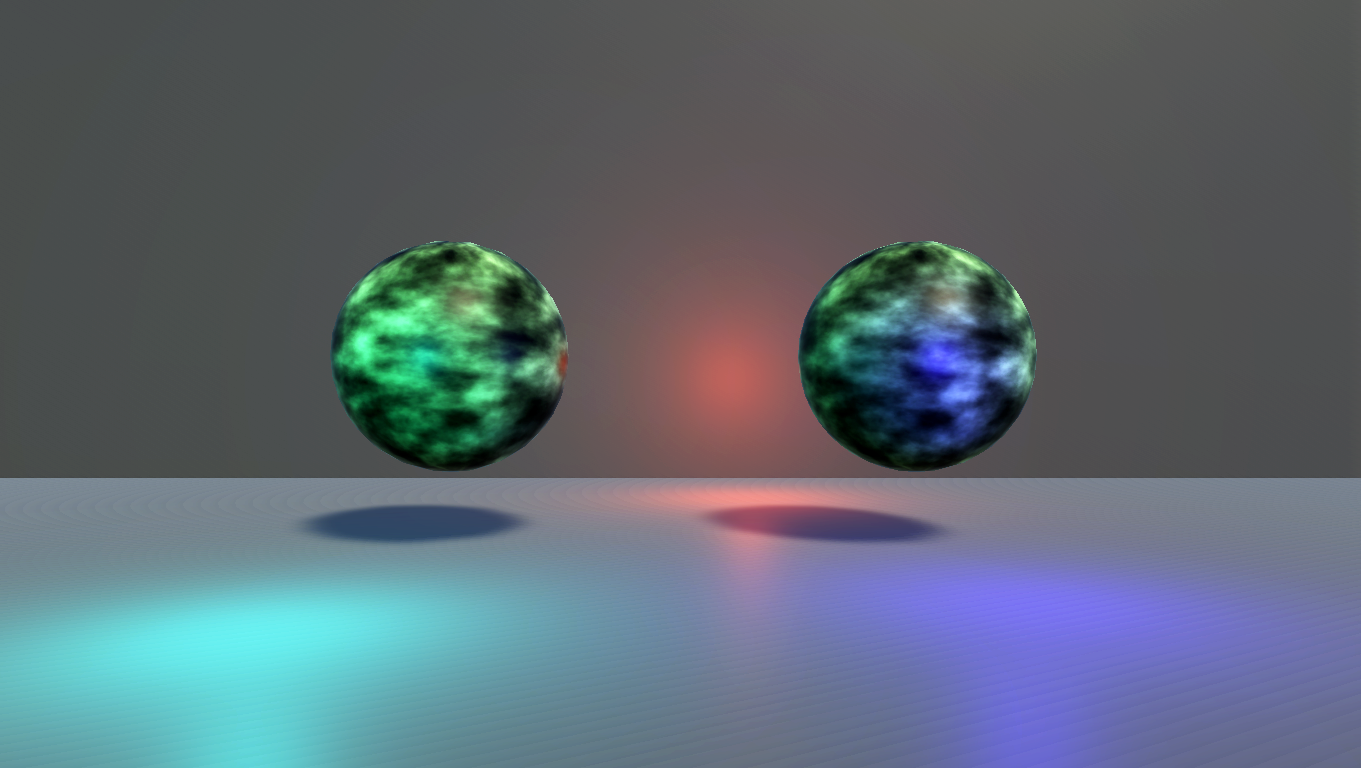
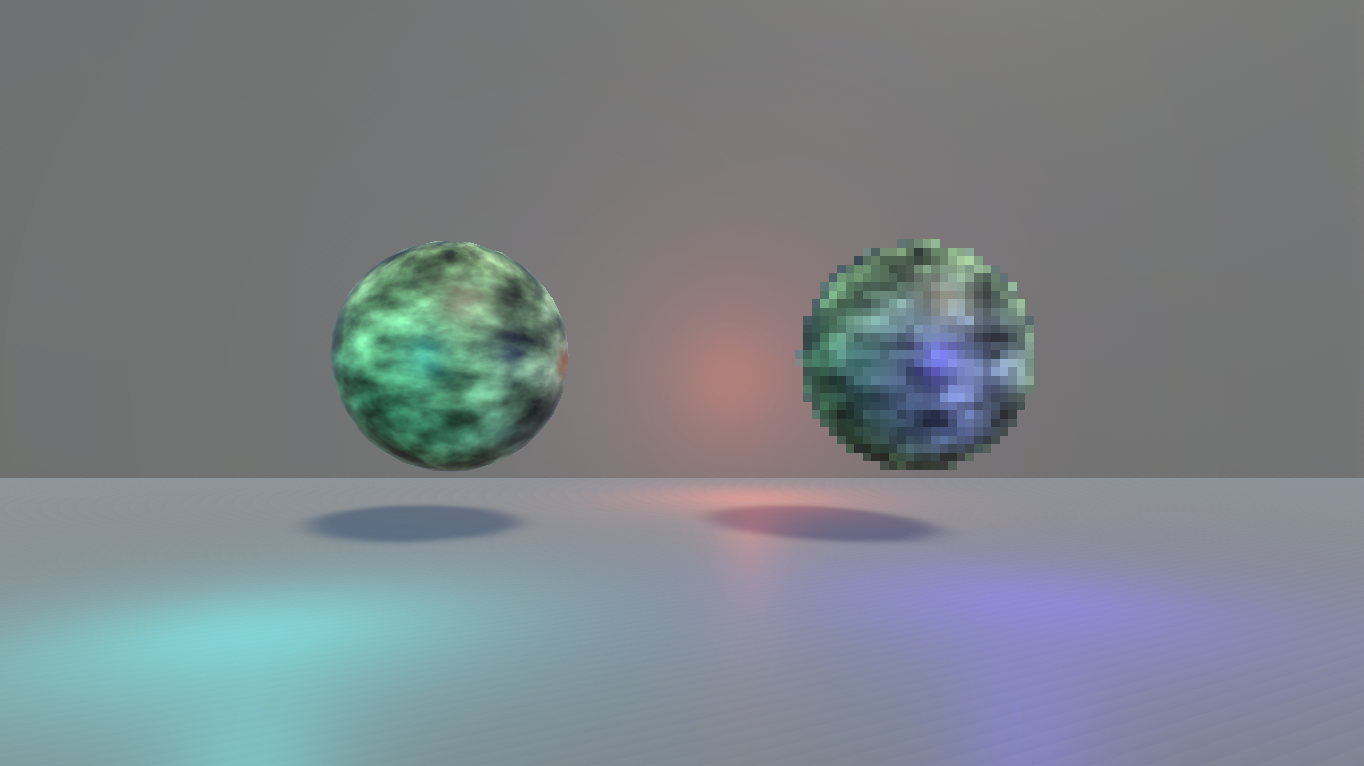
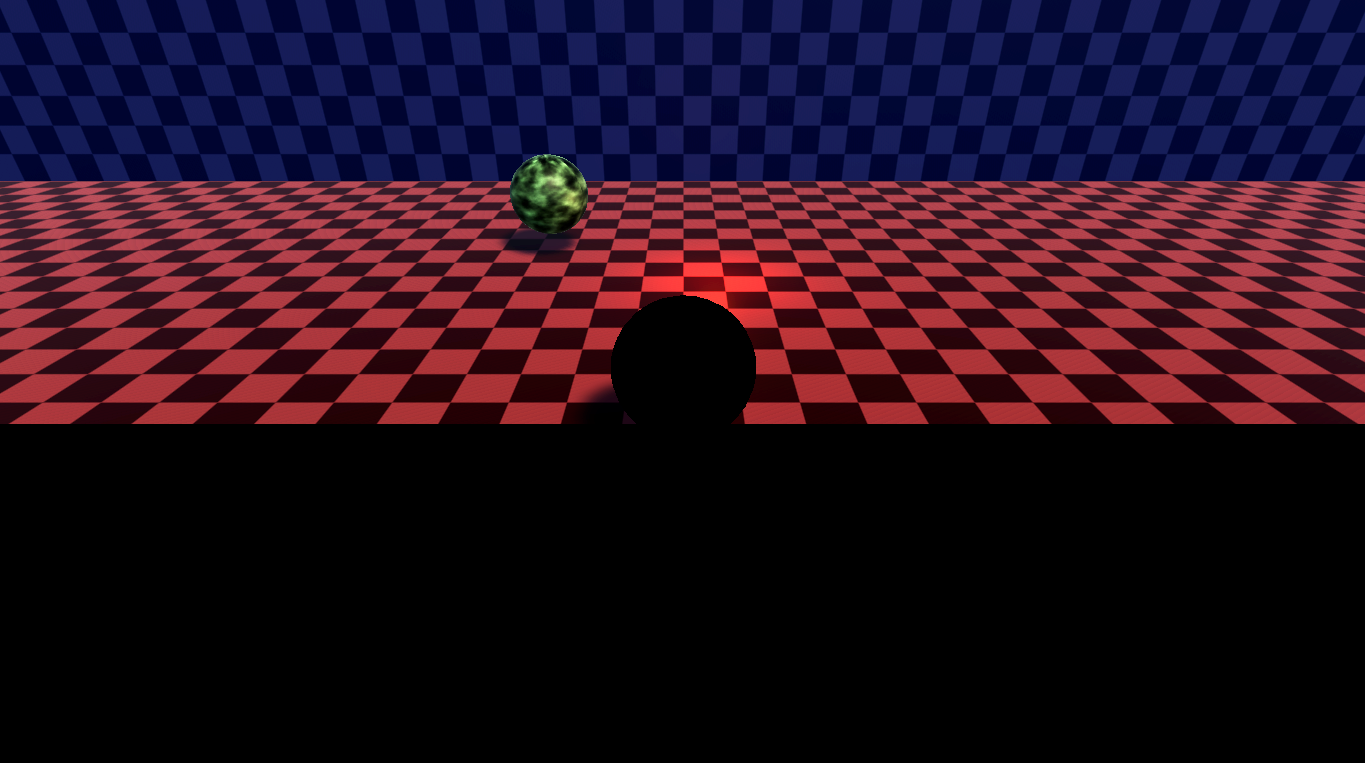
As an example of how this was done, we have this source scene, which is rendered normally up to the post-processing step.
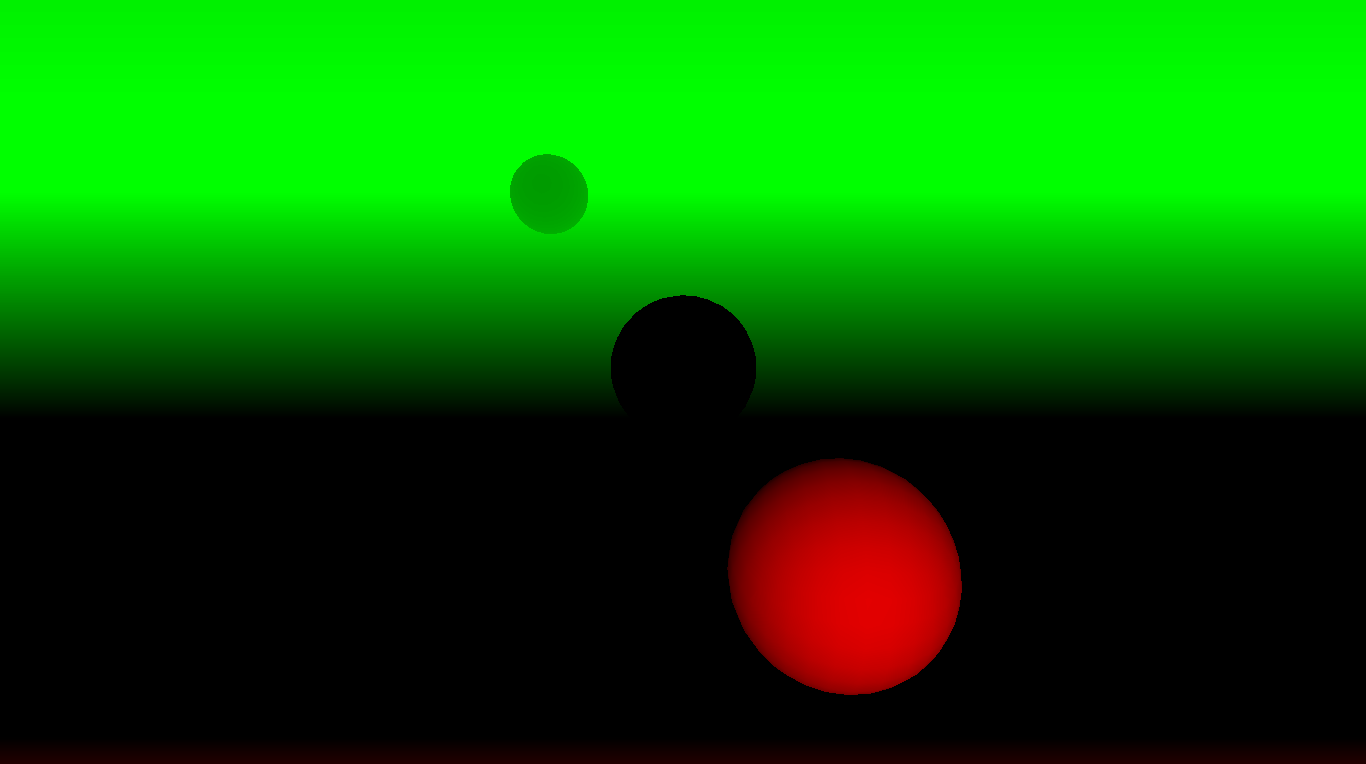
Objects that need to be pixelated write to the stencil buffer during rendering. This process includes depth testing and culling, resulting in a mask that identifies these objects in the frame.
The mask from the stencil buffer is downscaled along with the color buffer. This downscaling pixelates the objects, producing a pixelated color buffer that will be used for the effect.
To avoid artifacts, a refined mask is created.
Using the original stencil mask alone would leave smooth edges around pixelated objects, while using a pixelated stencil mask would leave parts of the high-resolution objects visible.
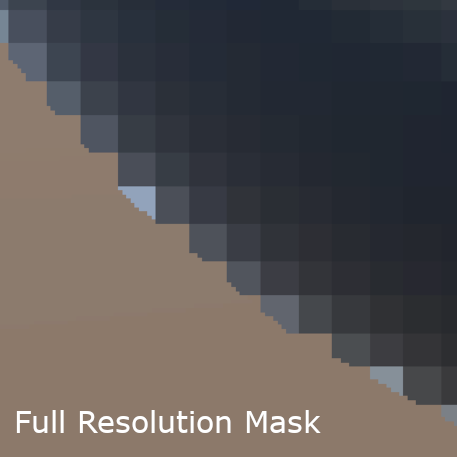
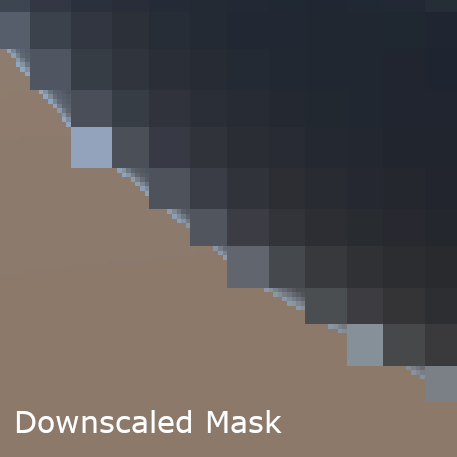
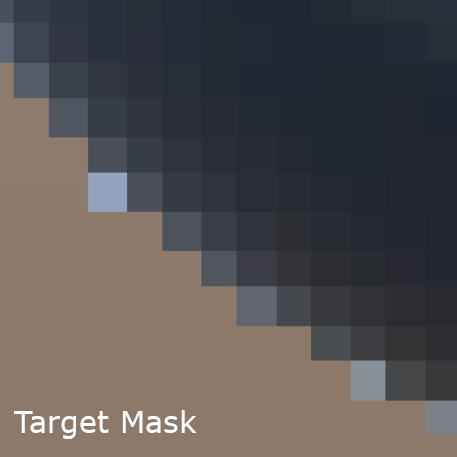
Therefore, the original stencil mask is combined with the pixelated mask, producing a new mask that includes some of the pixelated background to ensure a seamless overlay.

The new combined mask is applied to the pixelated color buffer, and this result is overlaid on the original color buffer.
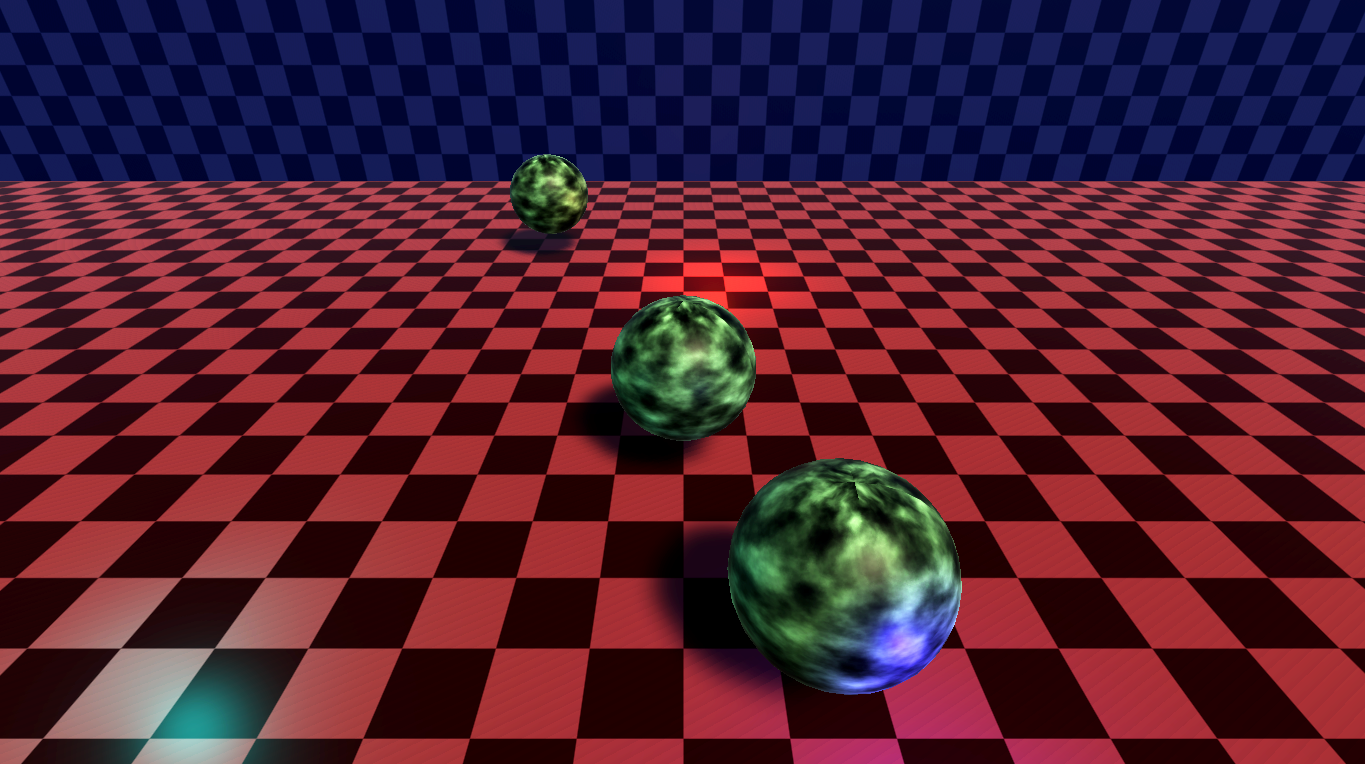
The rendering process then resumes with any additional post-processing and tone mapping, producing the final frame.
Professional work
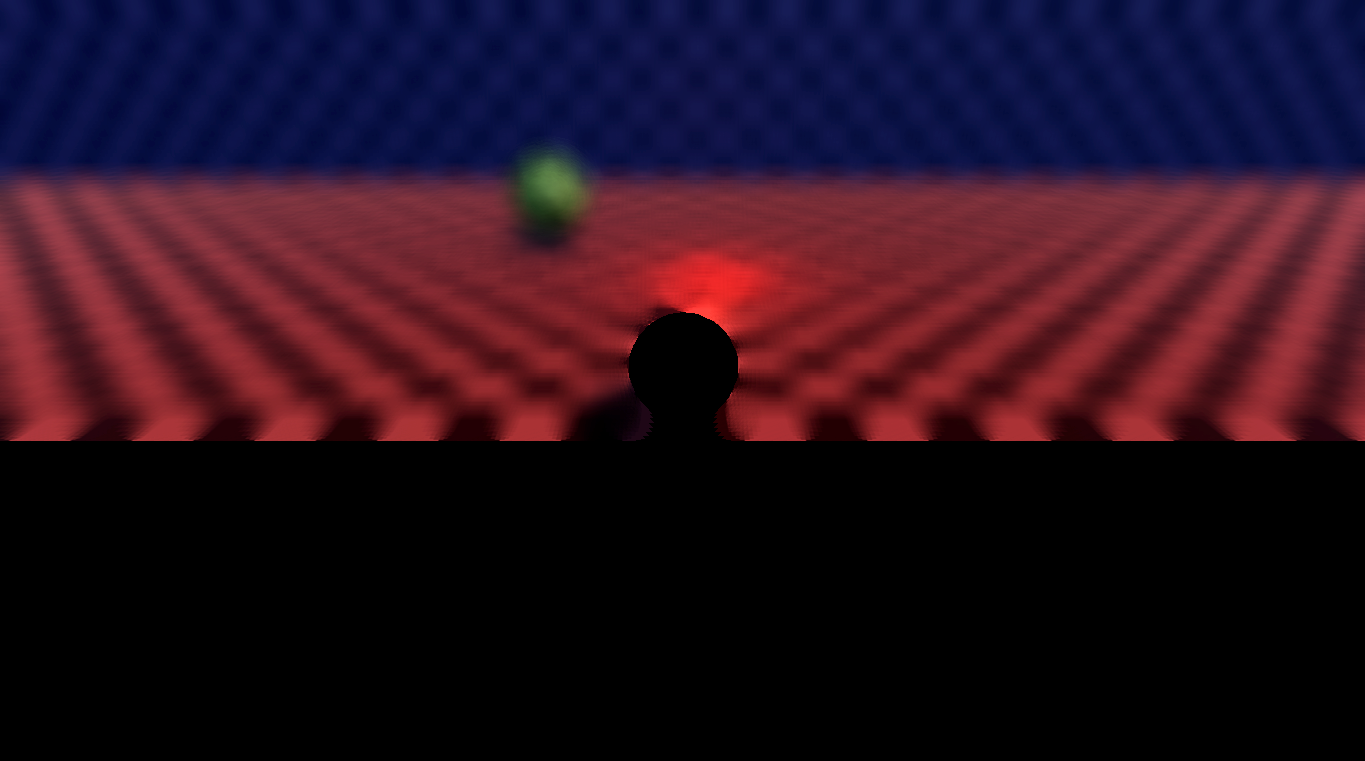
This post-processing effect blurs the image based on a focal plane and the distances from this plane, known as the circle of confusion, to simulate the depth of field of a camera with a wide aperture.
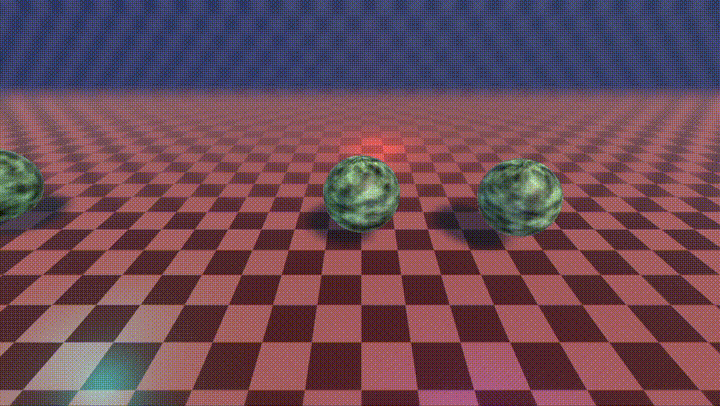
In order to show how it works, we start with the source render and its corresponding depth buffer.
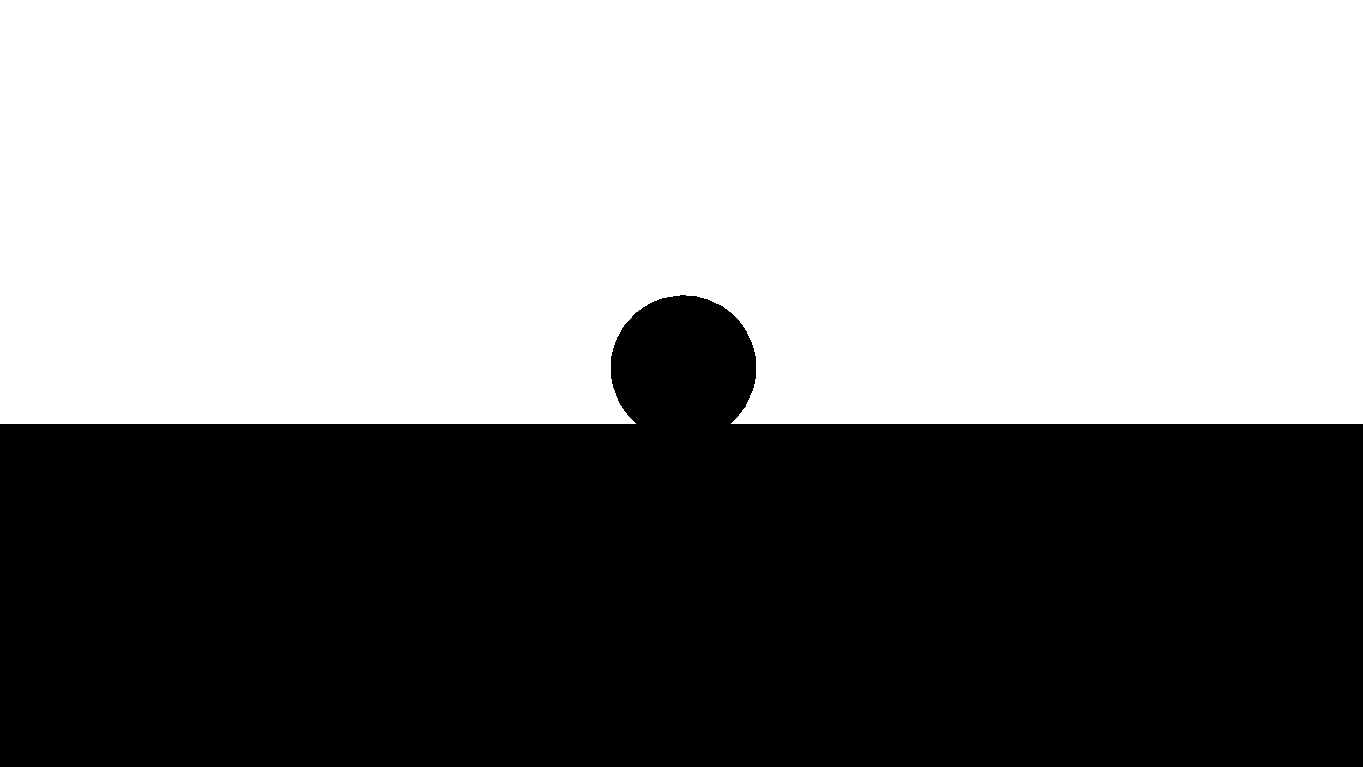
With a desired focal plane, we use the depth buffer to classify fragments as background, foreground, or in focus.
This creates a buffer where the red and green channels stores this depth classification information.
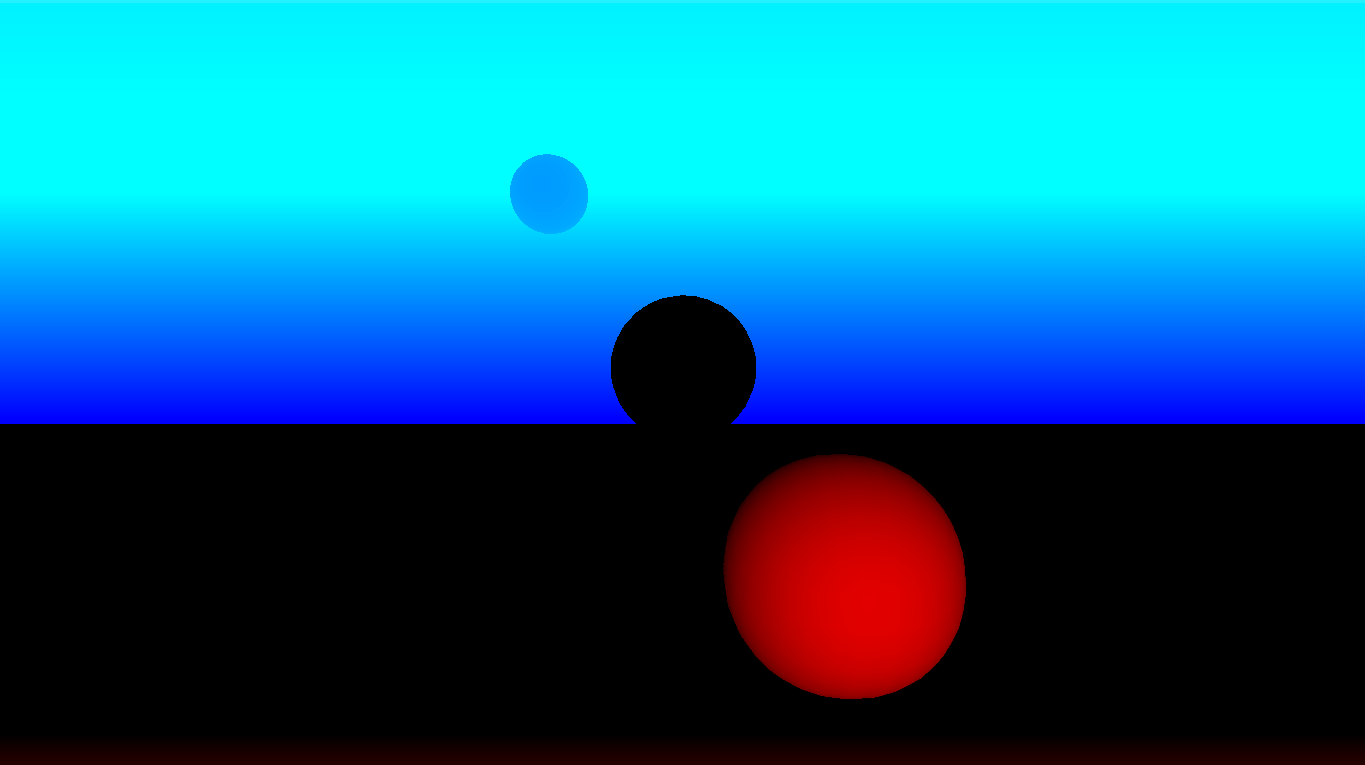
We want to separate the background from the rest of the image and blur them separately, this is so the foreground can bleed into the background when blurred, but not the other way around.
To do this we generate a mask for the background based on the circle of confusion data and store this in the blue channel. This creates a buffer containing all the necessary data for the effect.
Apply the mask to the camera source to isolate the background, creating a background-only buffer.
Blur the isolated background buffer and the original image separately. This allows the foreground to bleed into the blurred background, but not vice versa.
Use the red and green channels of the circle of confusion to interpolate between the three buffers: the blurred background, the blurred whole image, and the original camera source.
With the effect applied, continue with the normal rendering process, resulting in a final image that mimics a camera with shallow depth of field.
Personal work
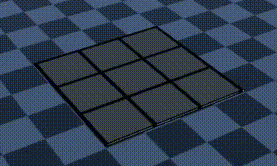
A parallax effect is achieved by adjusting the UV coordinates of a quad based on the view direction in tangent space.
This technique makes the shader sample the texture as if the quad were pushed back, allowing artists to create materials that appear to have multiple transparent layers stacked on top of each other, while in reality, the quad remains a simple opaque surface.
Personal work
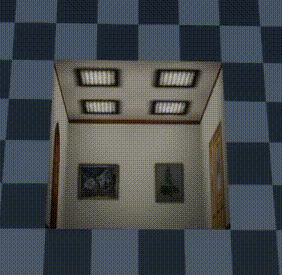
An advanced version of the parallax effect involves projecting the quad's UV coordinates into a virtual cube along the view direction, then using this projection to sample from a cubemap.
This technique simulates interiors and holes without additional geometry, significantly increasing the number of rooms that can be rendered efficiently.